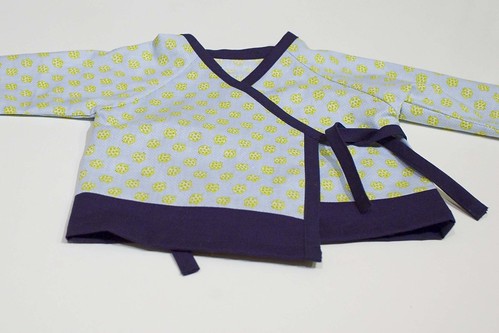
So, last week, I started to trace and cut out the pattern. I carefully cut out the pieces, then pinned those pieces to the main fabric and realized I needed a touch more fabric than Amy calls for. Well, to quote Tim Gunn, I made it work. I moved that pattern around until I got all the pieces into the yardage called for. I then cut out all the strips of the second fabric. I read through the directions to make sure I didn't need to cut out anything else before I threw out the scraps. With a sinking heart, I read about... Bias tape. Oh man. I hate making bias tape. I mean, it's so pretty, but I'm so sucky at it and... Bias tape. That night, I set down the project and went to bed, a little downhearted.
The next night, I was all psyched. I had cut out all the pieces! They didn't need marking! I just had to get that stupid bias tape cut and I was ready to sew. I cut it out, and I cut out that bias tape perfectly. I was cautious, light with my chalk, perfect with my scissors. My strips were all the perfect size and cut on the bias correctly. In fact, the damnable bias tape is the one thing I'm most proud of with this project. Well, I sat down to sew and read the directions and started step one, pinning the front top trim to the front panel of the top and realized that my trim was just a bit short. I stopped and considered. Maybe this was on purpose. I looked at the directions for cutting and saw that I should have two front trim pieces cut at eight and seven-eighths inches by three and a half inches. I measured and nearly shrieked in pain. My stupid trims were seven and seven-eighths inches. I put everything aside and took a deep breath, measured all the remaining trims to make sure they were the correct size, and went to go do another project for the night. I stuck the mis-cut trim in my purse too so that I could buy another fourth of the fabric to recut my trim.
I get the fabric, recut the trim, sew the bias tape together, and start! Everything is really clear right up until the bias tape section. Wow, then the directions were crappy. According to everything I've read online, Amy Butler has terrific directions. This must mean that my reading comprehension is really far below what I used to think it was. I looked at the sole diagram presented, read the instructions a few more times, and finally figured out WTF was going on. By that time, I was tired, so I intelligently went to bed rather than continue on.
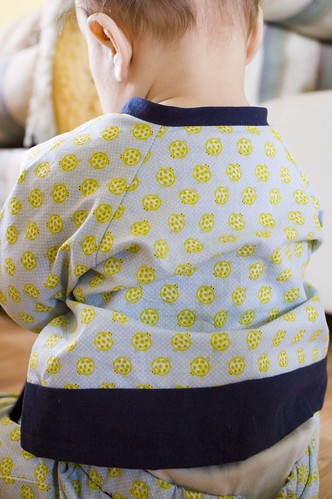
The next time I worked, I finished the top with a minimum of fuss. Most everything went right other than slightly puckered/wonky sleeves, but considering the fact that I had never set in a sleeve before in my life, I decided not to worry too much about it. I'd try harder not to screw up next shirt.

After taking the above picture, the angel and demon on my shoulders started a little fight. The angel told me to answer my email, take a shower, and go to bed. The devil told me I could finish the pants. The angel told me I was tired. The devil said, "He could be wearing these tomorrow."
I paid for listening to that devil, folks. I ripped out about fifteen seams (no lie) working on those pants. Those pants should have been as simple as all hell, and they took me forever. At one point, Nathan had a funky shaped long skirt because I had screwed up so hard. I did discover that I wanted to make myself and everyone I know pajama pants. I think if I were less tired, I could whip out a pair pretty quickly, even for adults.
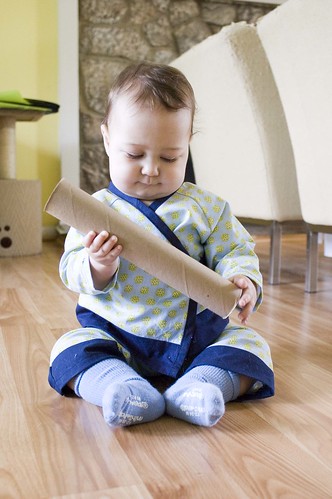
Here is Nathan enjoying his outfit.

It's got an awfully cute turtle pattern on it.

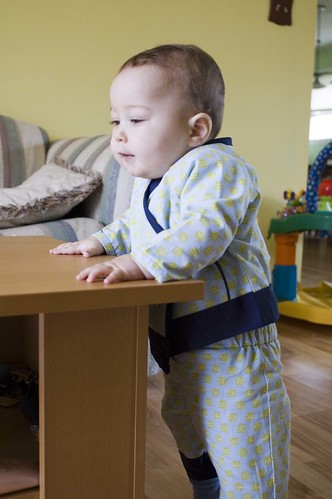
You can see that the pants are already a little too small for him, but I like the project regardless.
Here he is standing up so you can see the pants.

My mom and I even took him to the park in his pajamas!

My final verdict? I wish Amy Butler had more diagrams and that her instructions were clearer, but it's an awfully cute pair of pajamas.
1 comment:
I LOVE these! They're adorable (and so's the cutie wearing them)! :)
Post a Comment