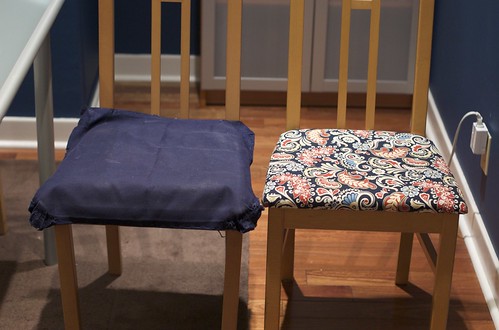
WRONG. The fabric was easy to acquire. Jenn escorted me to Jo-Ann's, and we selected a lovely navy pattern... in 2009. And then it sat, and sat, and sat, waiting for me to do something with it. First, I needed to borrow a staple gun. Then, I needed staples. How long can this take? A mighty long time. Finally, the impending arrival of a new baby provided sufficient motivation for this long-overdue craft project.
For the first chair, I decided to remove the existing cover. It was also stapled in place, with a far more powerful stapler than any I have encountered. To pry that fabric loose took roughly 2 hours, screwdrivers, two people and quite a bit of elbow grease. Needless to say, the subsequent chairs have their original covers under the new ones.

The only upside of all that work? I could use the existing cover as the template when cutting the new fabric.
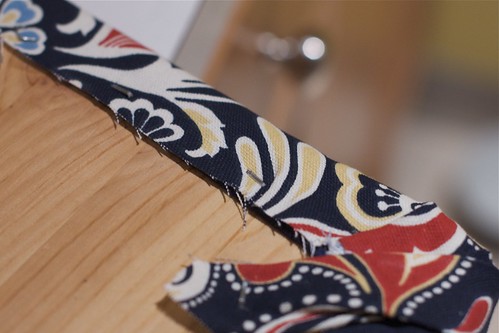
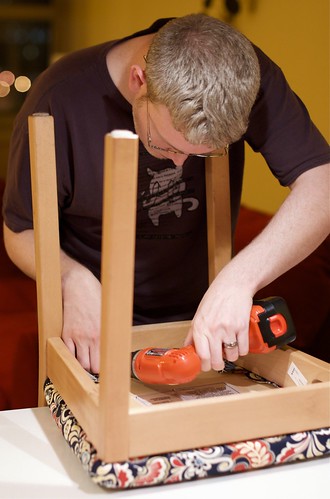
Stapling is a two-man job. You need a second person to hold the fabric taut while you staple. Additionally, I had to hammer the staples in a bit to get them fully flush. Each chair takes about 5 minutes, once you have your system down.

Once we finished the first one, though, the other 3 flew by. Before I knew it, my capable assistant was reassembling the newly covered chairs!

So, over a year, 2 hours, 20 minutes and 9 months later, I think we can call both of our recent projects a success. And now I'm considering another, similar project... recovering my bed frame, that is.

1 comment:
I think they look awesome and you know it! I especially like their covered with baby look, but that pattern just makes them so much sharper.
I should probably consider doing that myself as my dining room chairs are highly stained, but I am intimidated by the idea of the staplers.
Post a Comment